In this lesson, you’ll learn how to create a template. Templates make it more efficient and easier to do your outreach, while still maintaining that personal touch. To create a template, select one contact in your project, then select Outreach, and Create Template.
From here, it’s time to name your template. It can be helpful to name your templates with numbers at the end, or some other way to identify different versions of your pitch from one another. That way, if you decide to try an alternate version of your pitch (with a different value proposition, description or even subject line), you can easily see which version receives the best response.
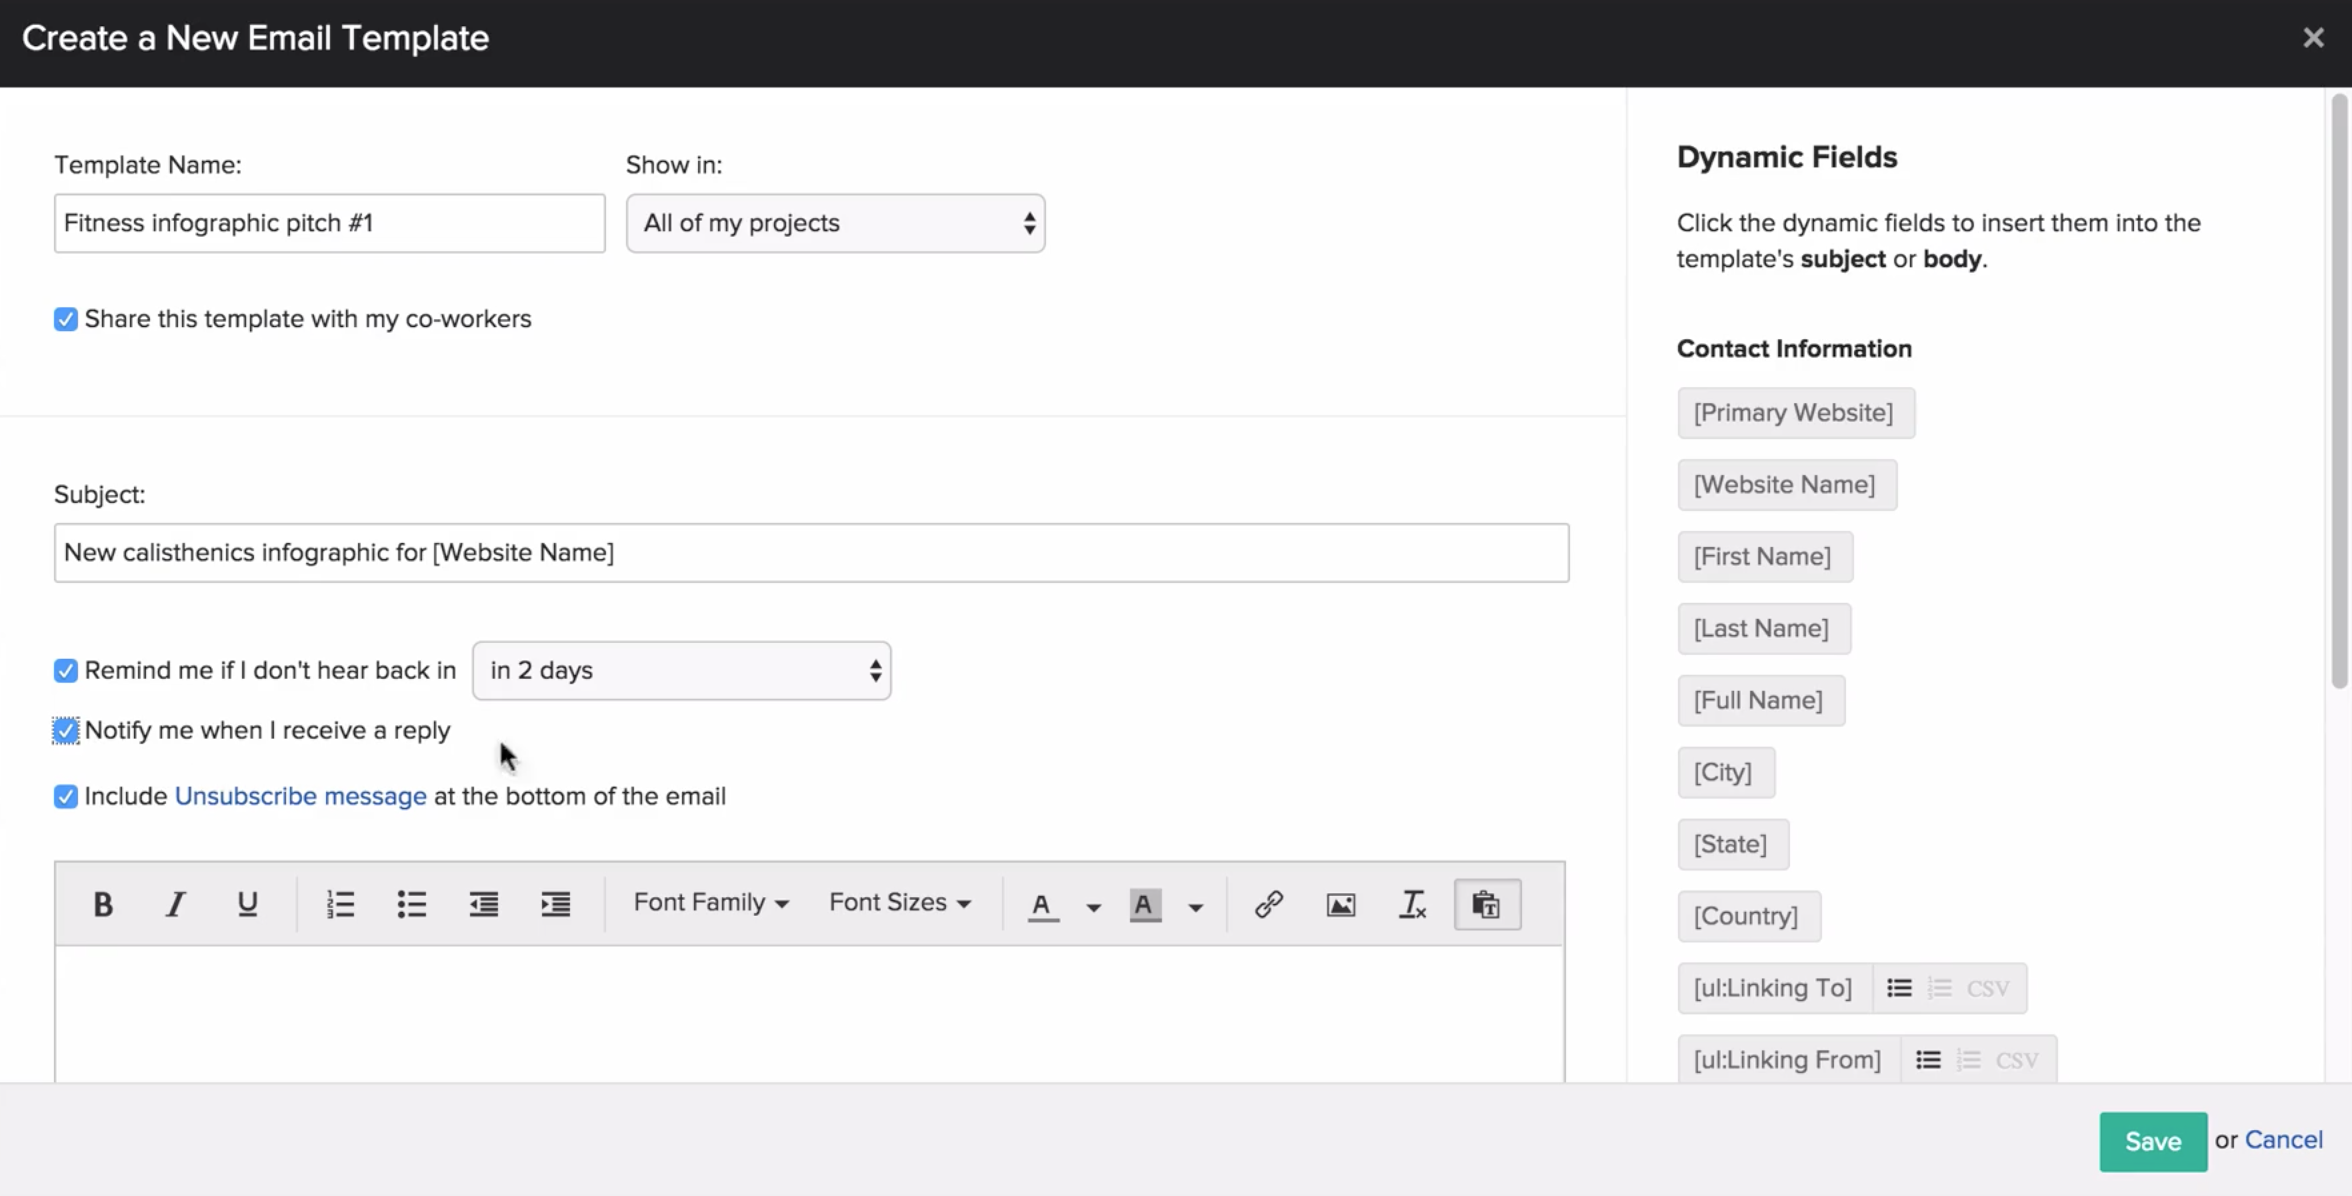
After naming your template, you can select whether to share this template with your coworkers, or to keep it to yourself. Additionally, you can choose to show this template in all of your projects, or just in that specific project. You can always change these options later.
Now it’s time to add your subject line. After you’ve added it, you can also set if you’d like to receive a reminder if you haven’t heard back in a certain number of days, get a notification if you receive a reply, or include an Unsubscribe message at the bottom of your emails.
Moving on to the body of your email, BuzzStream offers dynamic merge fields, which add information from your BuzzStream account and contact records to your outreach emails. Simply drag and drop the merge fields you’d like used in your email, and these fields will be automatically populated as you prepare your emails. If a contact is missing information that’s needed to fill in a merge field, BuzzStream will let you know so you can add the information before sending. Don’t forget to notate in your template where you’ll do your personalization. We recommend making your personalized section very obvious, like writing it in all caps, or highlighting it with a bright color. Once you’ve finished writing your template, Click Save and your template has been created.