Every now and then, you’ve got to shake things up a bit.
That’s why we’re extremely excited to announce that BuzzStream is starting the open beta for our new navigation and UI!
This update introduces several changes and a complete refresh of the BuzzStream interface that makes it more modern, simpler, and easier to navigate.
New Layout
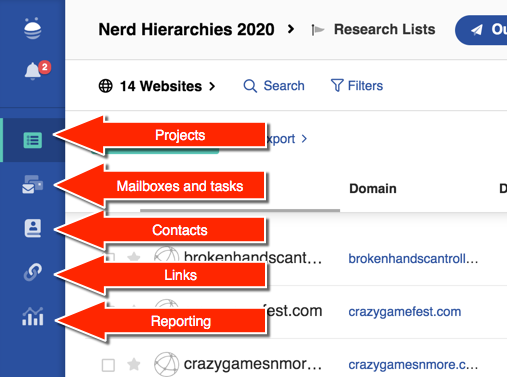
The first thing you’ll notice is the new layout. The biggest change is the addition of a left-hand navigation bar. This is a global navigation bar that lets you quickly access all of the distinct areas of BuzzStream.

As you can see, it is broken out into five major areas: Projects, Mailboxes and Tasks, Contacts, Links, and Reporting.
Projects
If you’re already familiar with BuzzStream, you’ll know that the projects section is where you manage your campaigns. We’ve made some major improvements here to give you even more tools to send outreach that gets results.
Research Lists
The first tab to discuss is your Research Lists. This is a new tab that combines some of our most powerful prospecting and research tools with new functionality for managing and vetting prospects.
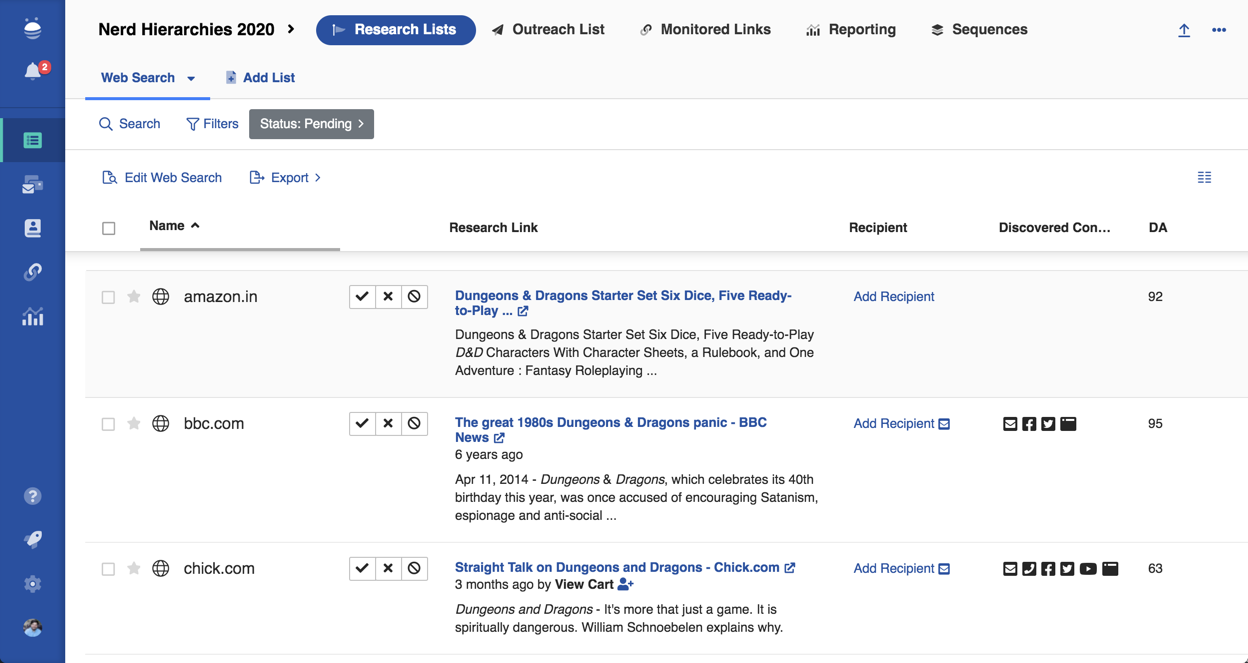
Research lists give you a place to store and qualify prospects that are potentially a good fit for your campaign. Once you’ve added a prospect, you’ll see that BuzzStream has done a ton of work for you, including pulling bylines, titles, meta descriptions, contact info and metrics.

Using this information, you can quickly approve prospects, reject them, or blacklist them to stop from ever showing up in another search result.
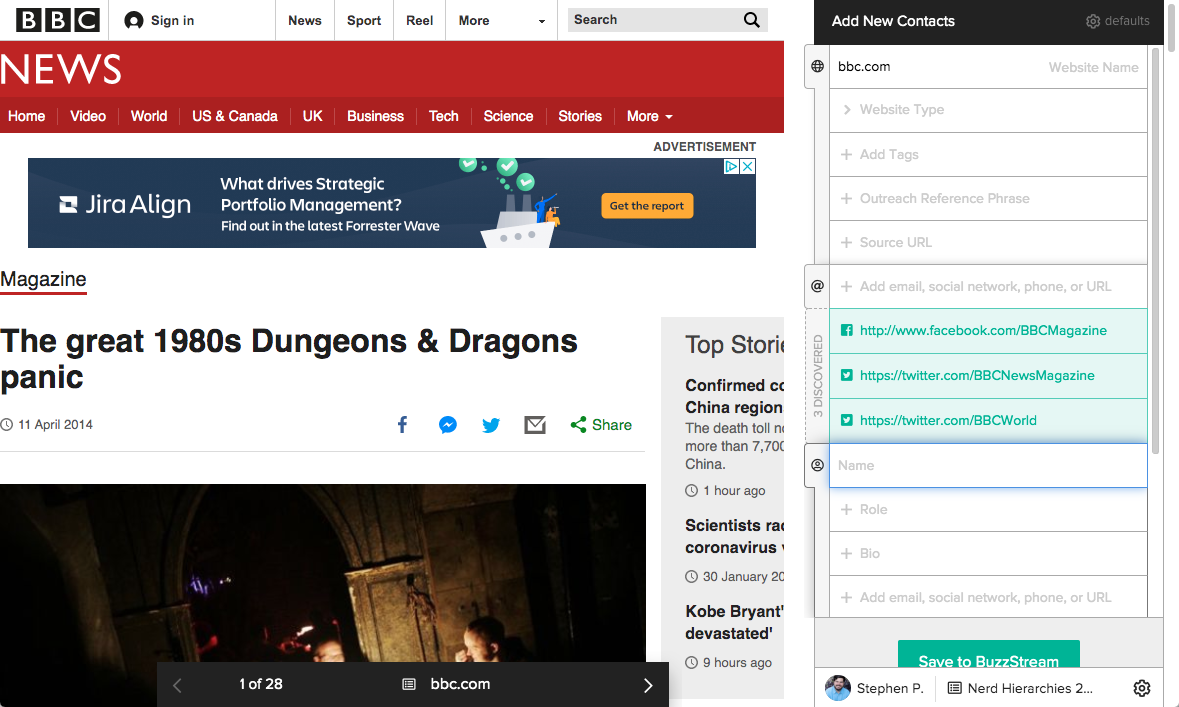
If you’d like to go beyond this summary information, BuzzStream also gives you tools to do deeper research. One of the more powerful ways to do this is by launching into a web research flow.
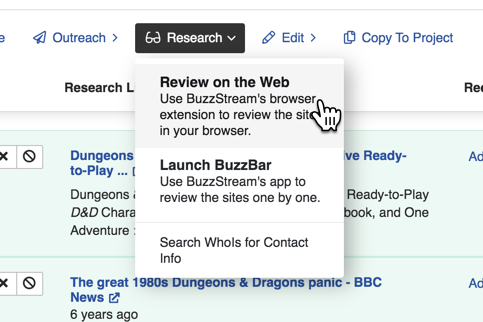
When you’re conducting web research, you’ll be able to view a prospects actual website, along with all of the information that BuzzStream has available. You can capture any relevant information, then when you’re ready, approve the prospect. If it turns out they weren’t such a great fit, you can also reject them from here.
There are currently three ways to add prospects to a list.
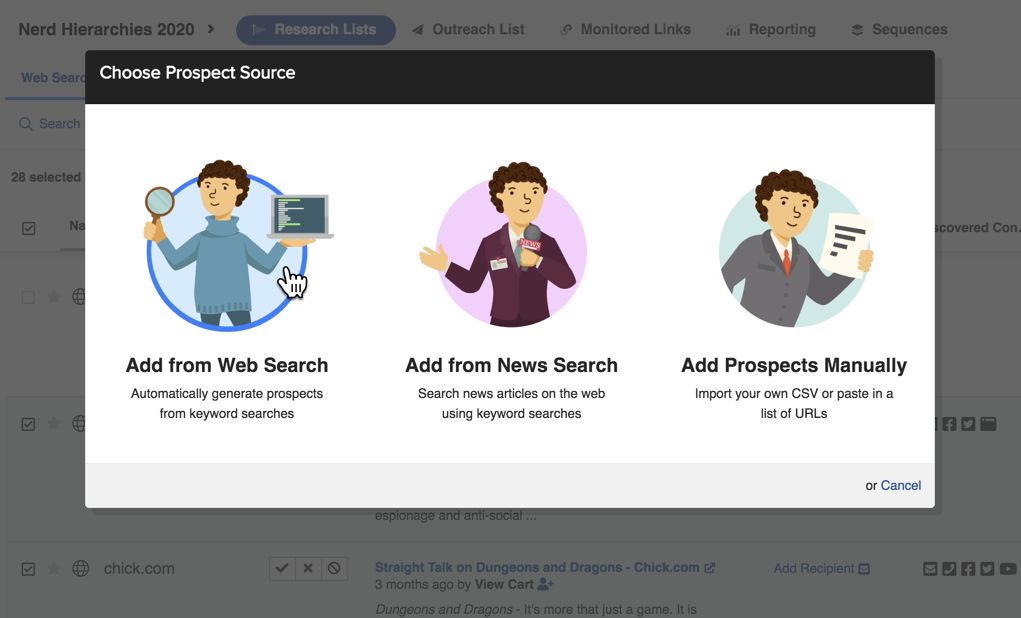
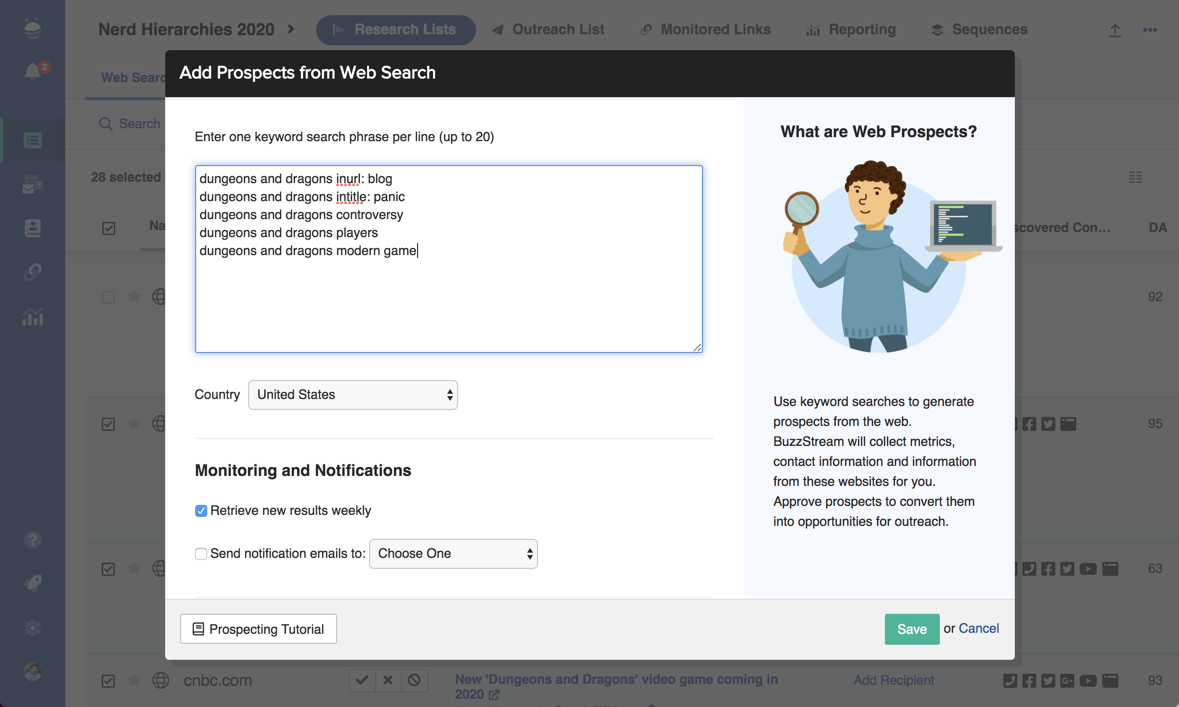
The first, “Add from Web Search” let’s you enter the combination of keywords that you’d normally use to find prospects on Google, including advanced operators and keyword variations. Once you’ve done that, BuzzStream will automatically scrape results and populate your Research List with them, automatically gathering all of the information we’ve discussed.
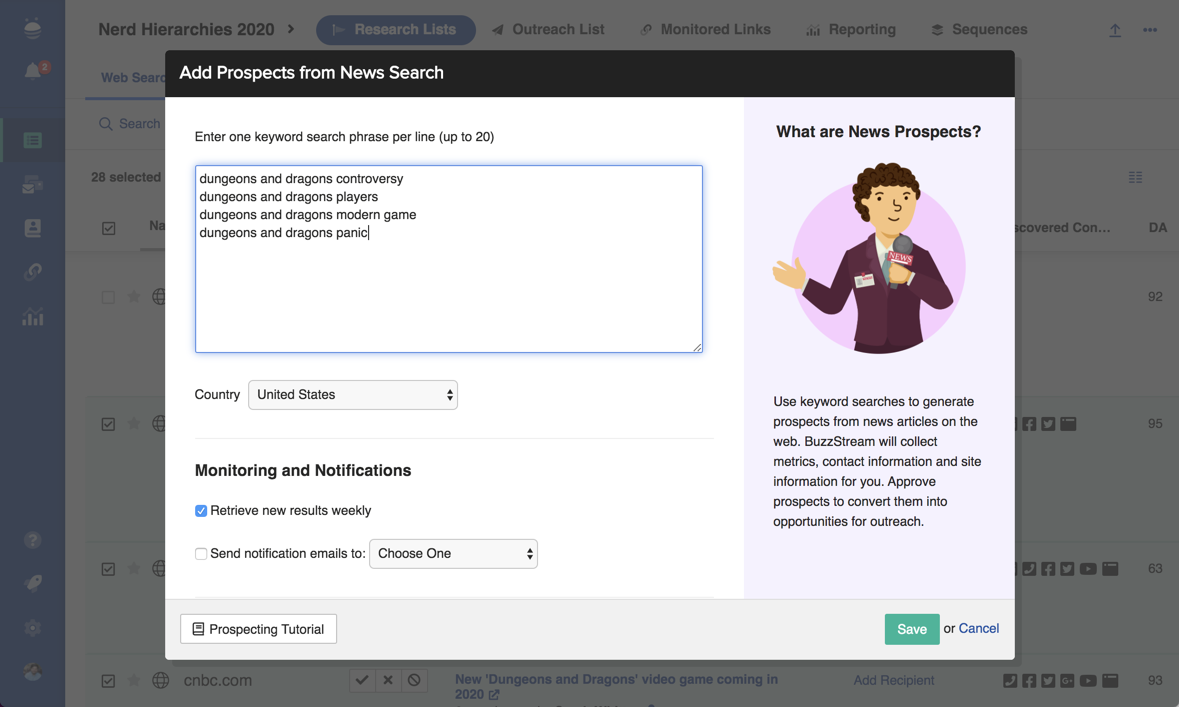
The next, “Add from News Search,” is very similar but with one key difference: rather than pulling from Google search results, BuzzStream will pull prospects from Google News Searches. This is an excellent option if you’re primarily looking to get coverage from publications rather than general websites or blogs.
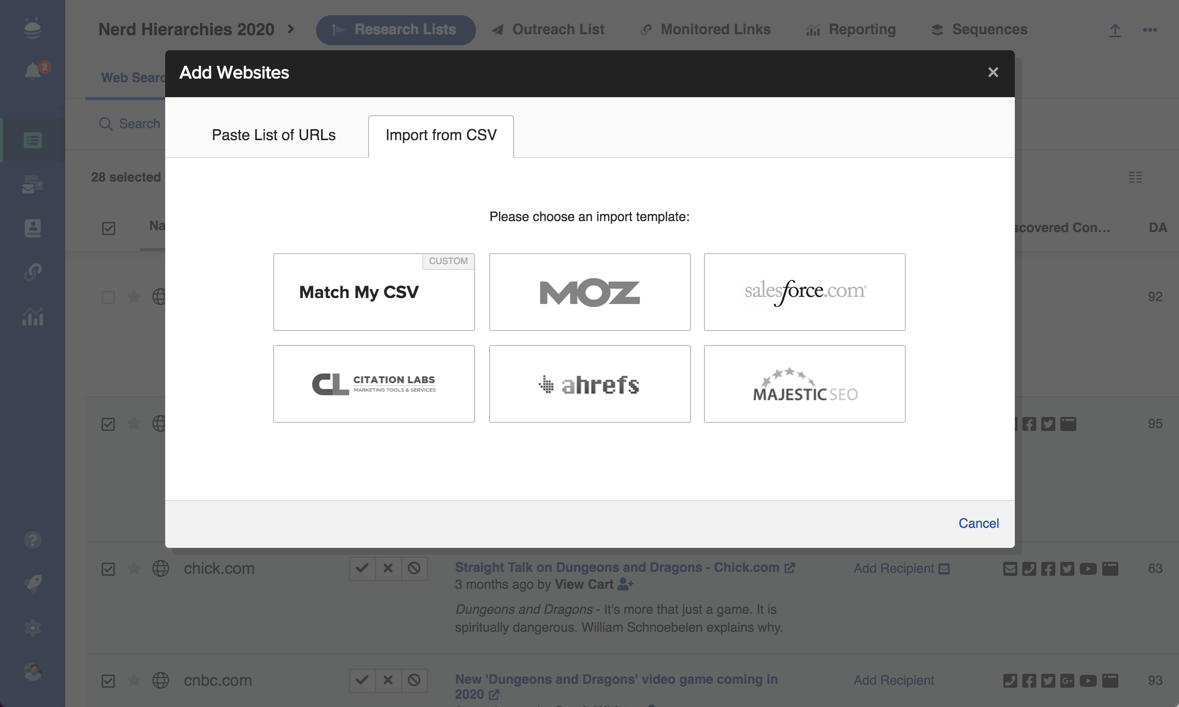
Finally, you’ve got the option to “Add Prospects Manually”. This option is there to give you flexibility to do things like vet lists put together by interns or VAs, or to hold prospects from third party lists that you haven’t yet qualified.
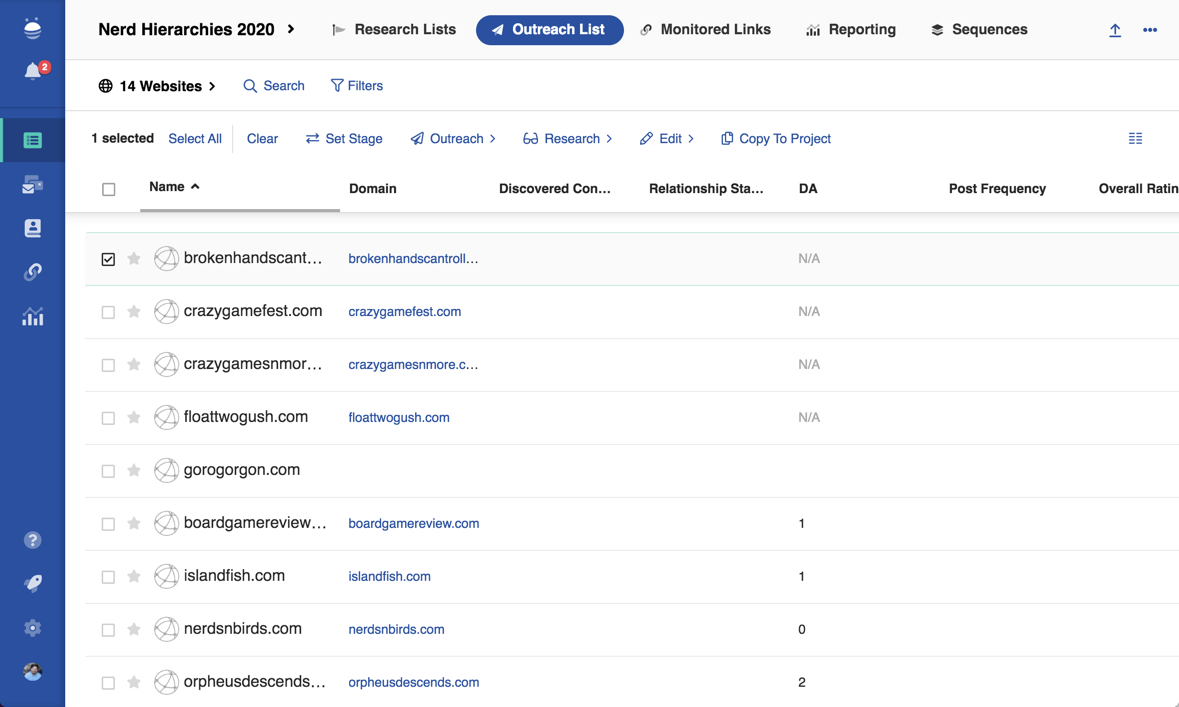
Outreach List
There’s a good chance that the Outreach List will be very familiar to you. This is where you’ll actually interact most with your campaign in BuzzStream. Here’s where you’ll manage and send outreach to the People and Websites in your campaign.
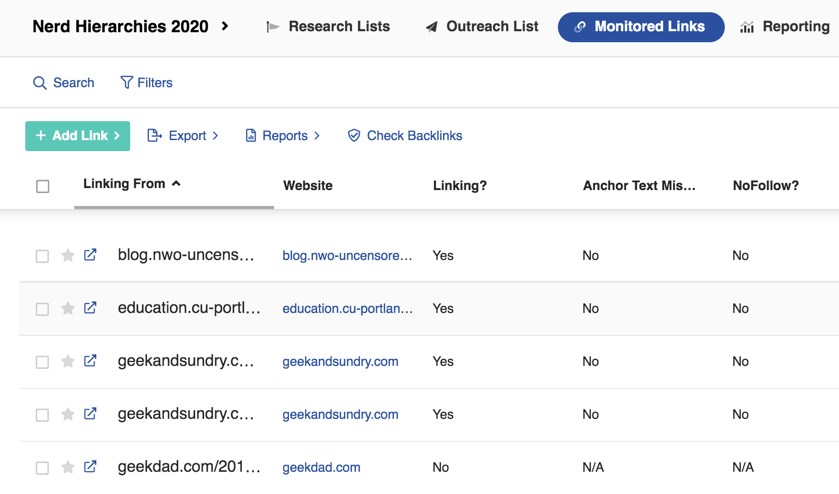
Monitored Links
The Monitored Links tab in your project will show you links that you’ve added to the specific project you’re in. It’s the place where you’ll add or review your earned links. BuzzStream will also automatically check for backlinks on specific pages if you’re targeting them.
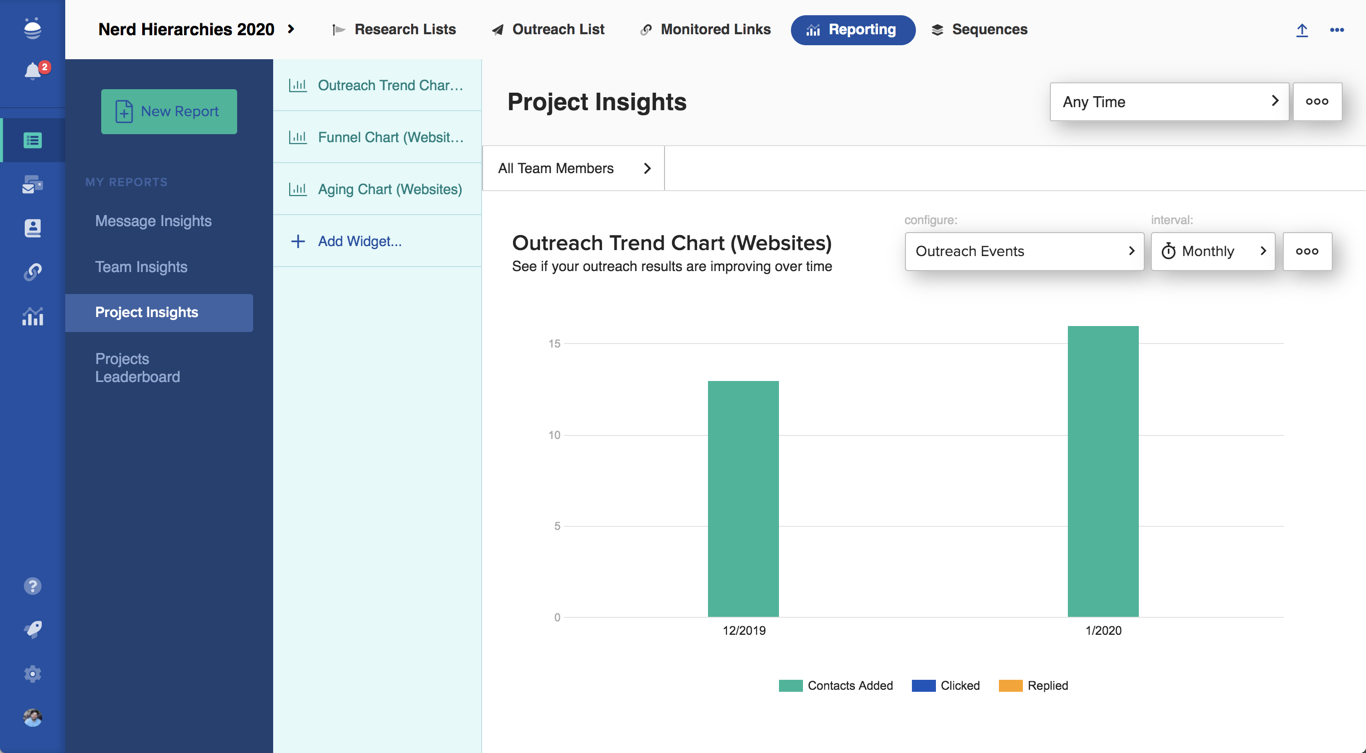
Reporting
Similar to Monitored Links, Reporting will show you the reports that are specific to the project you’re in. Here you can leverage any of our pre-built reports, or even build custom reports to get key insights into your campaign.
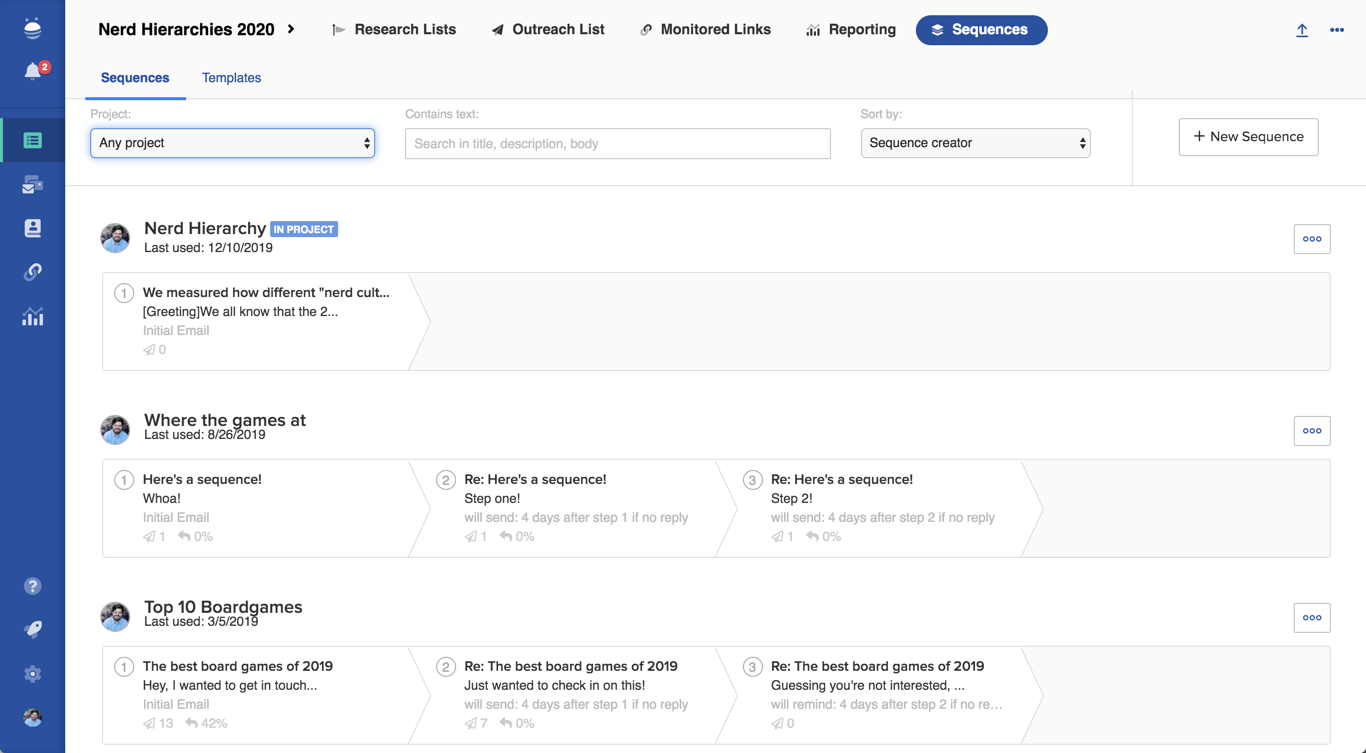
Sequences
The last tab, Sequences, is where you’ll create and manage all of the templates and sequences for your campaign. This section will let you quickly edit or generate new templates and sequences, view template or sequence metrics, and even access templates and sequences from other campaigns.
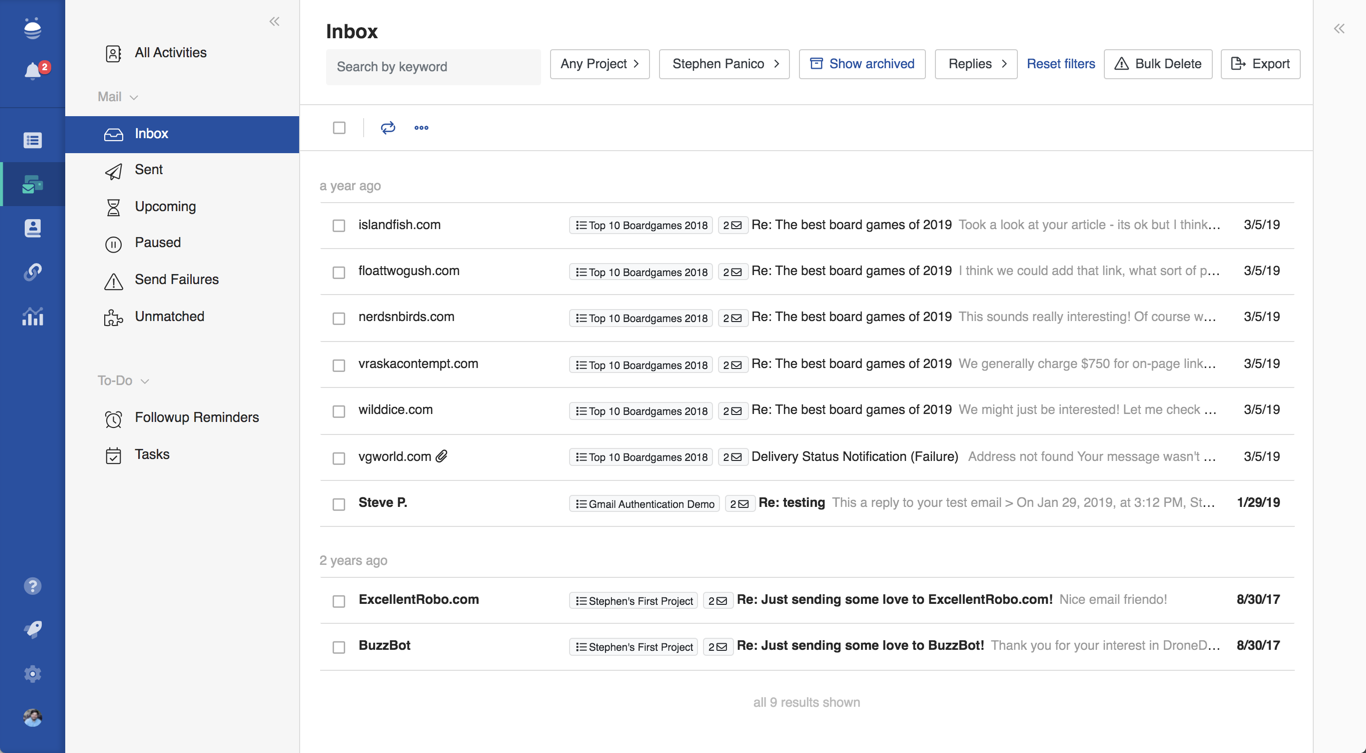
Mailboxes and Tasks
The next section in the global navigation bar is Mailboxes and Tasks. This section used to be called “Dashboard”, but we’ve broken it out and renamed it to better reflect the activities that actually take place there.
Here’s where you can view your inbox, as well as sent, upcoming, paused or failed emails. You can easily filter emails by project or person, and can also look specifically for replies. This gives you a quick way to manage and respond to emails in a campaign (or across all of your campaigns), as well as review team activities.
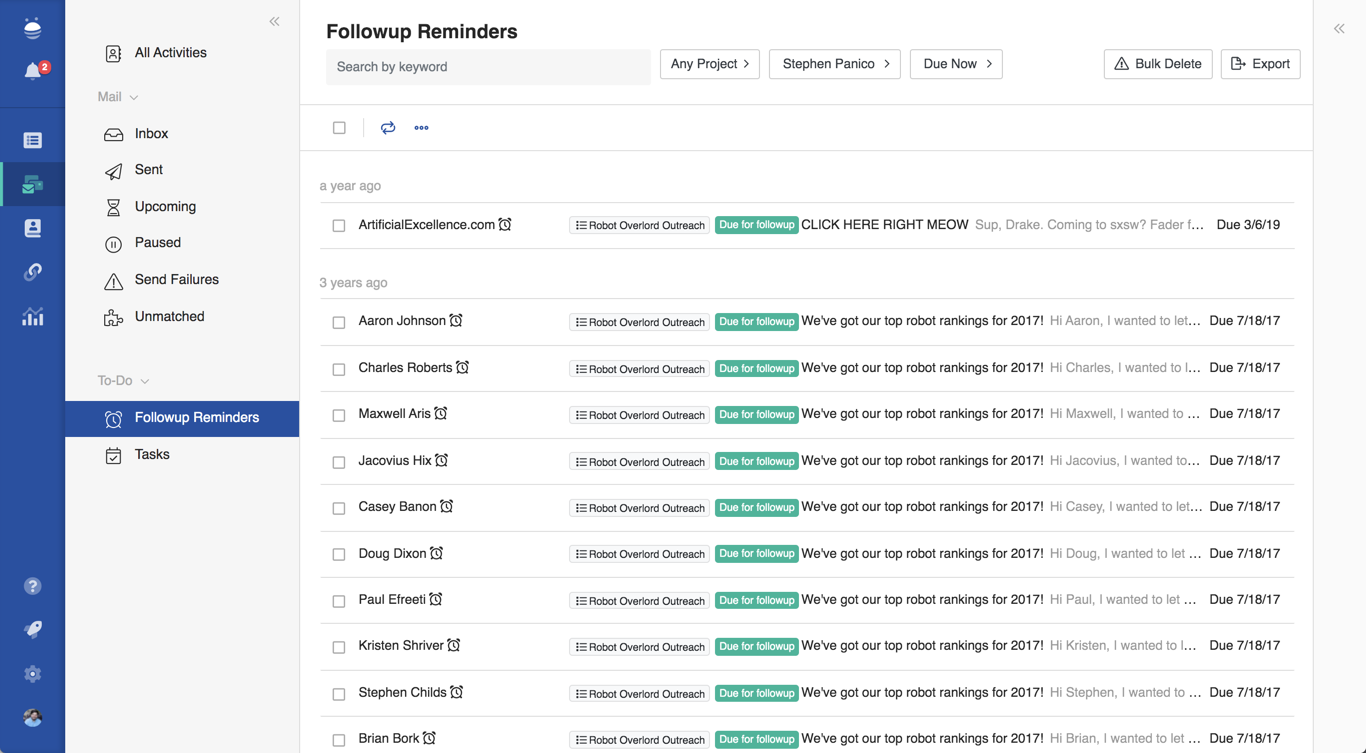
This section also shows the followup reminders and tasks for you and your team. Using these, you can get a clear view of emails that need to be sent and work that needs to get done, all without leaving BuzzStream.
Contacts
The Contacts section in your global navigation bar contains all of the People and Websites that are in your account. Think of it as the complete address book of contacts in all of your projects.
Using this section you can quickly get information on specific People or Websites, review whether specific people or websites are in your account, or even populate current campaigns with People or Websites you’ve reached out to in the past.
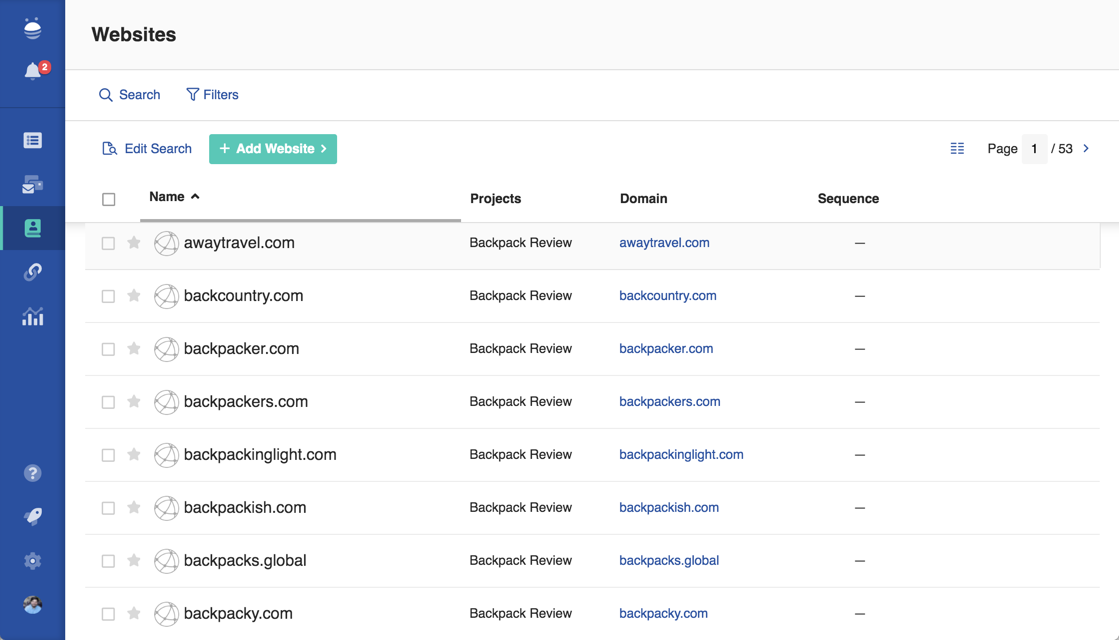
Of course, the Contacts section is fully searchable and filterable, so all of the information you need is right at your fingertips.
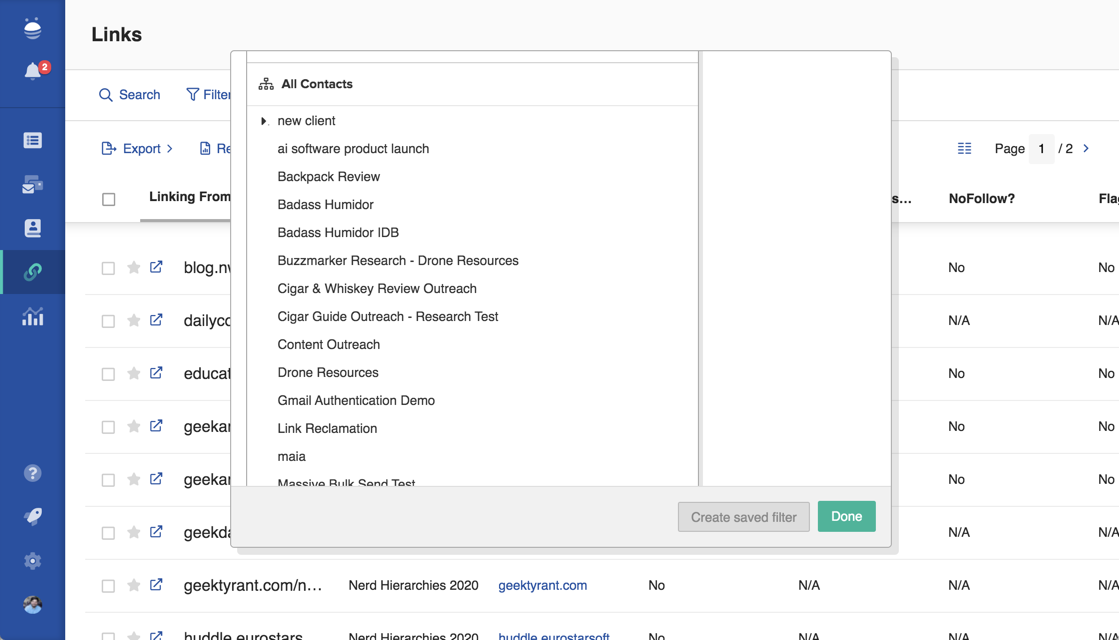
Links & Reporting
Your Links section and your Reporting Section are pretty straightforward, but they pack a ton of utility.
These sections are both effectively an account wide view of the Monitored Links and Reporting tabs in your Projects.
In Links you can search and filter to find links across your account in any project, giving you a great way to review total placements and active links.
Reporting gives you access to account-wide reports. This is fantastic if, for example, you want to see how effective a given project is relative to all the others in your account, or if you want to see how your teammates stack up on specific success criteria.

Accessing the Beta
How do you access the beta, you might ask?
Well, if you’re a current BuzzStream customer the answer is very straightforward.
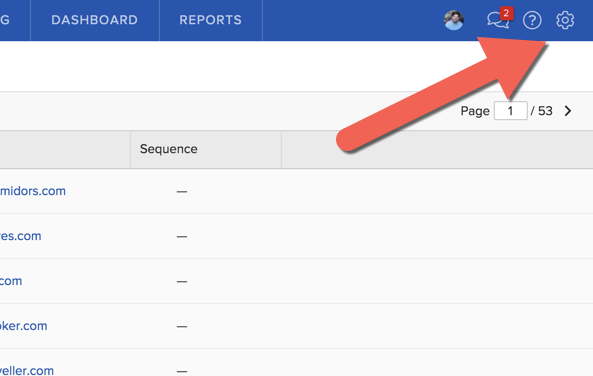
Just navigate to your settings
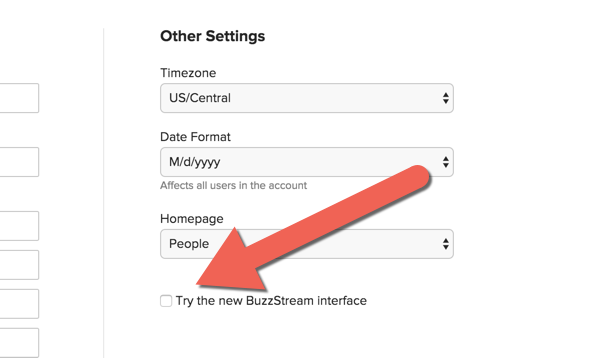
Then check the box to “Try the new BuzzStream interface”
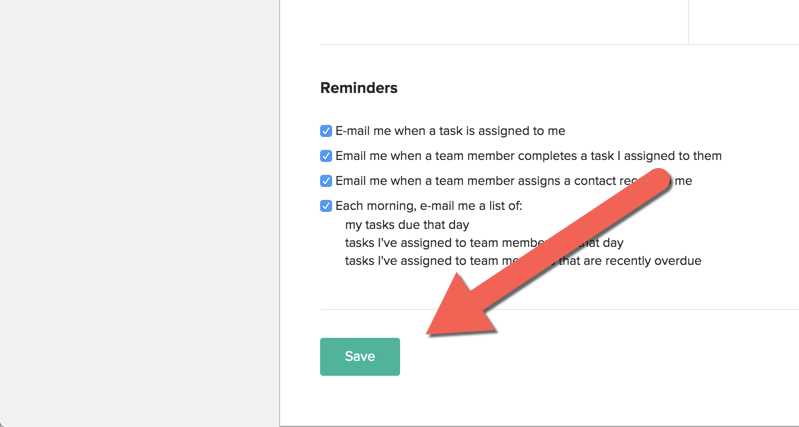
Then click Save and you’re done!
Closing Thoughts
Obviously there is a TON to dig into in the new beta, and we’re barely scratching the surface here. The absolute best way to learn everything is to try it out for yourself! During the beta, we’ll be periodically reaching out for feedback, but please let us know your thoughts as you try it out. We know how important getting this UI right is, and your feedback is an absolutely critical component of that.
And of course, if you have any questions, we’re here to help!
 Check out the BuzzStream Podcast