Ah, contact forms. To some, they are a necessary evil. To some, they are just necessary. Presumably to some, they are just evil. But no matter what, sometimes the best way to get the right message to the right contact is to send through the trusty old contact form.
The problem is, dealing with contact forms as part of your overall outreach workflow can be very clunky. You’ve got to manually find the right page, navigate to the site and away from your streamlined BuzzStream interface, copy your message into the field and then remember to actually update your contact once you’ve sent the dang thing.
Well, all that’s in the past, because I’m extremely pleased to announce that we’ve added a streamlined contact form workflow!
Adding Contact Forms as Recipients
The first part of this update includes the ability to add contact forms as recipients to your contacts. Previously, you could only add email addresses, but now you can define a contact form when that makes more sense to use for outreach. Doing so is easy.
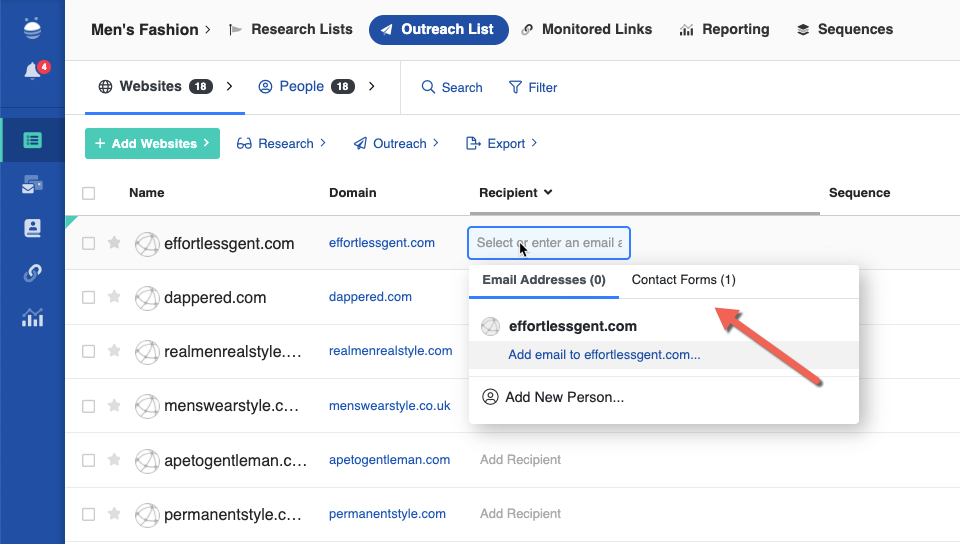
First, just click into the recipient field. You’ll notice that there is now a “Contact Forms” section, making it easy to see when you’ve got a contact form available to use.
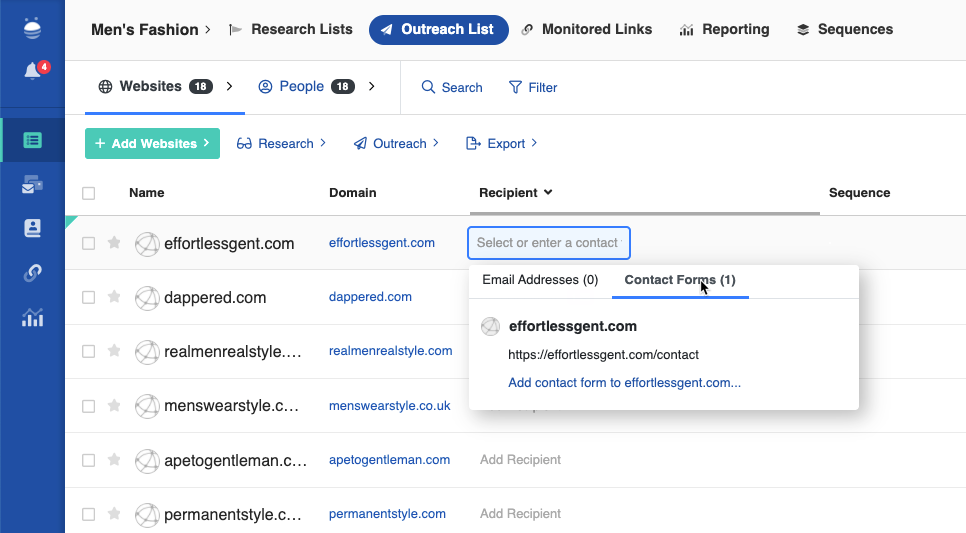
In this new section, you’ll see any forms that BuzzStream has discovered or that you or your team have added. You can also add a new contact form to a contact right from here.
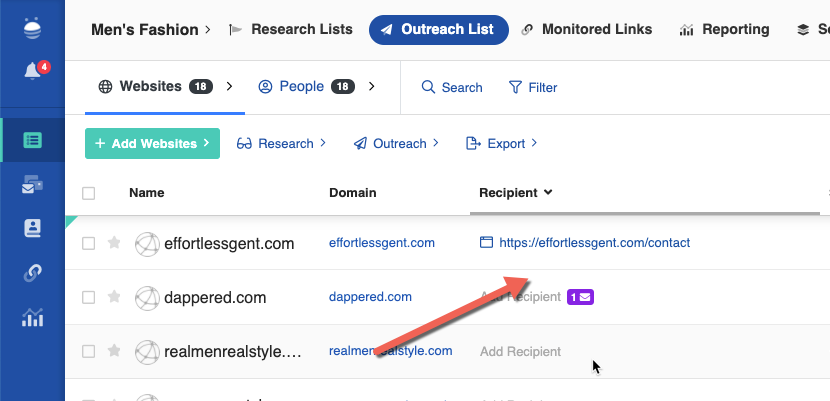
Once you select a contact form, it will be added as the recipient for your contact.
Contact Form Outreach Workflow
Once you’ve added a contact form as a recipient, you can utilize that contact as part of your “Send Individually” workflow.

The great thing here is that you can select a mix of contacts that use outreach forms and email addresses as recipients. No need to conduct two different rounds of outreach! Just select the contacts you’d like to send to and choose the “Send Individually” option.
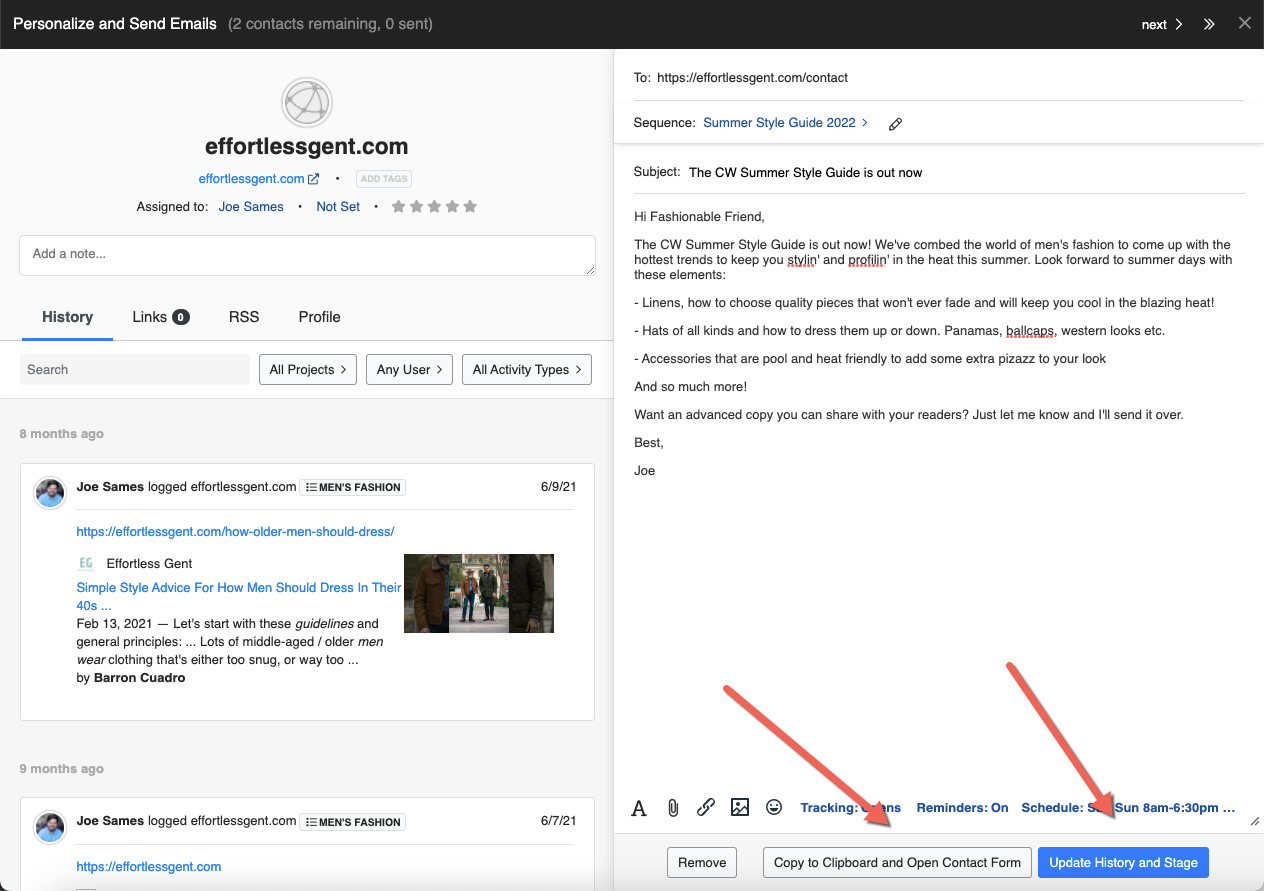
Now, you can see that you’ve got the workflow view you know and love, with all the contact details on the left and your email on the right. You can customize the messaging here just as you would normally. Once you do so, you can click the “Copy to Clipboard and Open Contact Form” option on the bottom. This will copy your message and take you right to the contact form so you can enter the details without manually copying and pasting.
Once that’s done, just navigate back to BuzzStream and click “Update History and Stage” to mark the contact with the “Attempting to Reach” stage and move to the next contact in your outreach list.
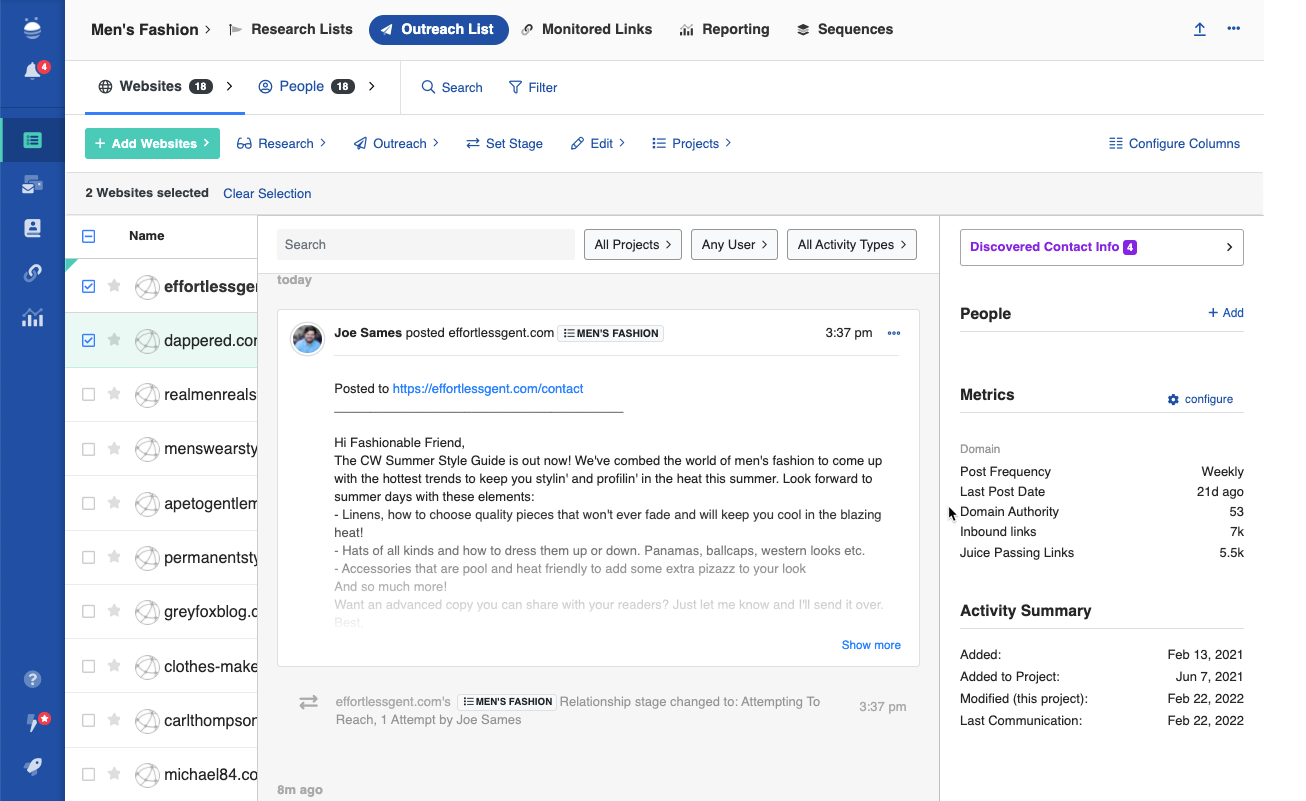
Now, when you view the history for your contact, you’ll see that the message you sent through the form has been captured automatically and the relationship stage has been set!
Wrap-up
We hope that this new way of managing and sending to contact forms speeds up your workflow and makes the whole process more efficient! If you’ve got any questions about using contact forms in your outreach, please don’t hesitate to reach out.
 Check out the BuzzStream Podcast